Composting Easy as 1-2-3

Our composting program allows us to recycle most plant material in our garden. Everything you ‘weed’ or remove from your plot should be placed in the ‘passive’ compost pile at the back of the garden. The only exceptions are the invasive (aka evil) weeds described on our Weeds page. More information is located on the kiosk in the compost area.
At workdays and independent work hours, garden members turn plant material into gold!
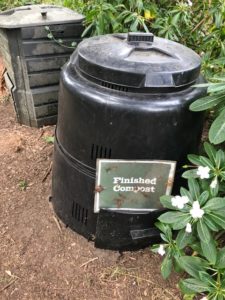
The finished compost can be placed on top of your raised beds or worked into your soil, adding nutrients and improving soil texture. This is the same stuff you can buy at a nursery but we make it for free and avoid plastic bags!
Composting is not difficult but we do ask that beginners attend a workday to learn how our composting system works.
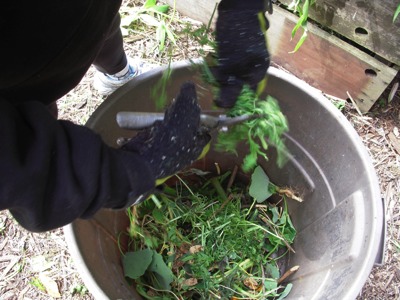
The process is as easy as 1-2-3. Step 1 is building a new pile with layers of greens, browns (i.e., leaves and twigs) and manure, kinda like lasagna. You can use your gloved hands or hand pruners to chop greens and browns into smaller pieces.
Step 2 is turning the new pile with a pitchfork and a tarp so that the stuff on the bottom gets moved to the top – this helps the decomposition process.

Step 3 is sifting! That’s when we get to produce the finished compost! Most piles need to ‘compost’ for a couple of months before we can sift but the passive pile ALWAYS has some good composted soil at the bottom. Just toss the greens aside and dig in.
Invasive weeds get placed in the bad weed corral on the southwest side of the garden, near the green shed.